Browsed by
Author: yreece

Process of learning from a textbook

Process of learning from a textbook

In this post, I will write some about how I’ve adapted to learning from a textbook. Though I did learn using a textbook in community college, that was as part of an instructor-led course, so there was more guidance. Since I started learning on my own, I have been using websites which integrate many more screenshots and other supporting features. Now that I have begun learning from a traditional textbook, it requires more initiative and resourcefulness on my part. This was a change, but I feel I have adapted to it.

One of the most important things I’ve learned to do is to retype all code I find in the book. I keep the notepad open in a small window at the top of my screen, and any code I see in the book, I retype in the notepad. This helps to examine closely and understand the code in detail.

Today, I progressed 5 more pages in the textbook. Below is a screenshot of a temporary memory layer I added (there’s a line between two points, but it’s hard to see).

Beginning to make progress with learning PyQGIS

Beginning to make progress with learning PyQGIS

Since writing my last post, I have both gone on to do another tutorial with qgistutorials.org as well as give the book PyQGIS Programmer’s Guide another try.

In this tutorial from qgistutorials.org, I used a custom Python expression and the map tips feature in QGIS to display the name and UTM zone of a city when you hover the mouse over it (shown in the feature image of this post).

The tutorial itself was easy, since it wasn’t about learning to write the code itself, just how to add the custom expression in QGIS. Still, I retyped the given code into a notepad as a learning exercise.

I’ve also made another attempt to learn from The PyQGIS Programmer’s Guide by Gary Sherman, and this time has had more momentum. The first attempt I was daunted by everything it instructed to do to set up the development environment, such as having Qt5 and having qgis installed in a directory without any spaces in the path, etc. It was a lot to take in. But I took it bit by bit and googled a lot of things, and got past it. I realized that OSGeo4W contains everything I need, and I re-downloaded it to a directory which contains no spaces.

I’ve been going through the book page by page, with QGIS open and looking at both as I go. I go really slow and I google a lot. I’m on page 99 now, and I’ve learned a lot. A lot of what I’ve learned has been separate from the content, just googling stuff I didn’t understand and reading about this and that. (For example, “what is ogr” and “what is a provider” and “why does my computer’s file paths have backslashes instead of forward slashes”.)

The screenshot below was when I was using PyQGIS to add and style layers on the canvas. That was exciting, because it finally felt like I was doing PyQGIS.

Cracking open the box on PyQGIS

Cracking open the box on PyQGIS

Since I completed the Learn Python 3 course on CodeCademy last week, I have been seeking an introduction to PyQGIS through a few avenues.

I first opened up a textbook called Extending QGIS with Python by Gary Sherman. I was daunted by having to download Python and some other things (Qt5?) that I had never heard of. The way that the book explains how to install these things, I just felt like it assumes I know my way around a computer more than I do. Maybe this book is for a more advanced level than I am. I decided to try out other resources.

I then chatted with chatGPT about learning PyQGIS. I fiddled around with copying different scripts that ChatGPT gave me into the QGIS python console and seeing the outputs. That was valuable, at least in how it showed me how the Python console in QGIS can be used. Additionally, I tried just retyping chatGPT’s scripts into a notepad as an exercise to familiarize myself with the functions and syntax of PyQGIS. I found that I could read and understand a lot more after the Python course I took.

I still felt that learning from a book or tutorial created by a human was a better way, so I thought to try going back to qgistutorials.org for the PyQGIS tutorials there. I’ve already completed many other tutorials produced by Ujaval Gandhi, so they are easy for me to follow. I did the first two (of seven) tutorials. The below map of mean annual rainfall in Seattle was the product of the second tutorial, in which I used the zonal statistics tool on 12 raster layers at once using the Python console.

By the way, the pattern of more rainfall over the mountains is caused by something called orographic lifting, “where moist air is forced to rise over the mountain slopes, causing it to cool and condense into precipitation, leading to heavier rainfall on the windward side of the mountain range”.

Python course: Classes

Python course: Classes

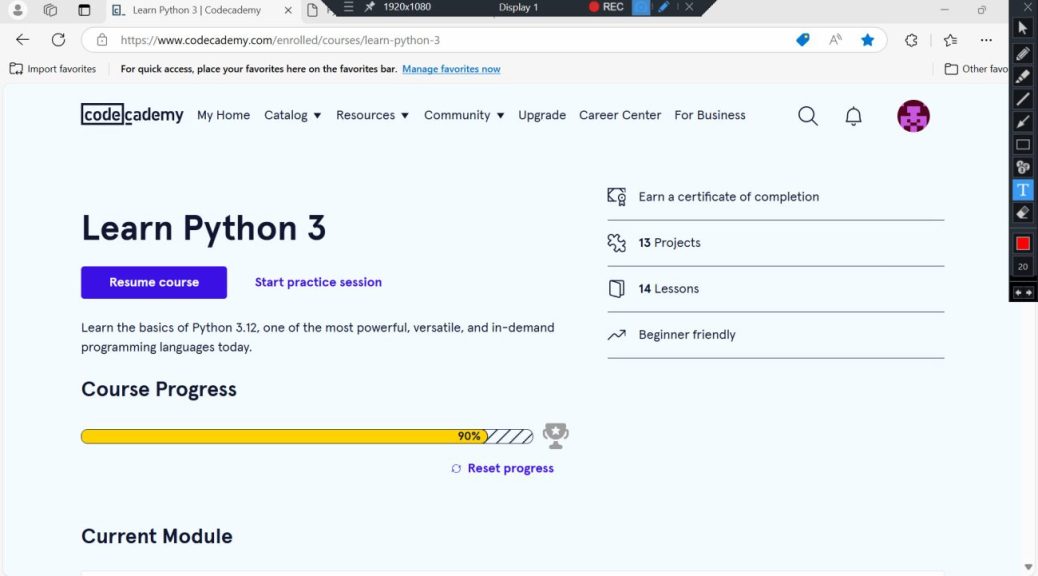
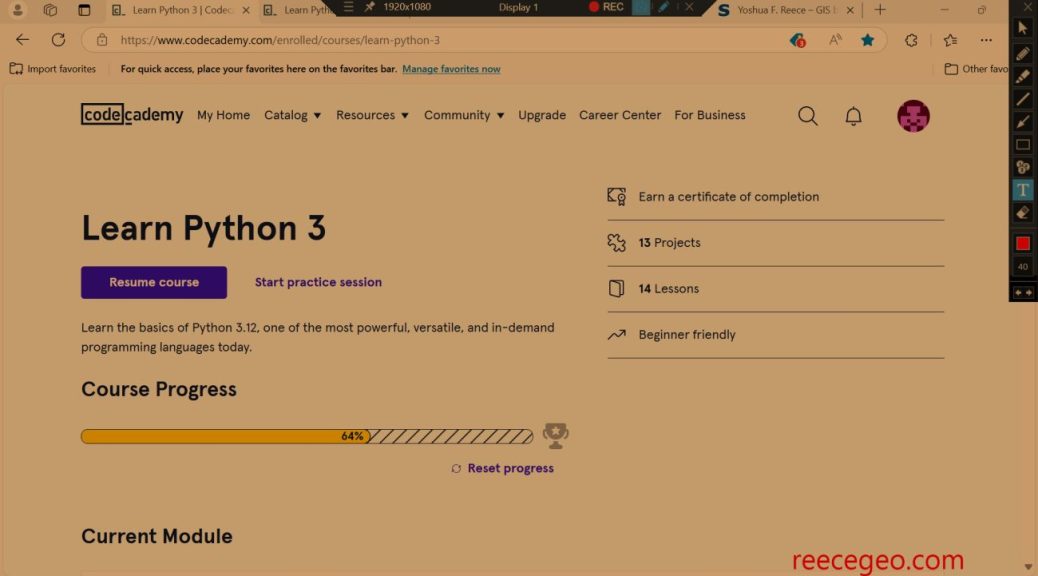
In this guided project, I used classes and object-oriented programming to create a system for a restaurant. This project was the last in a series of modules in the Learn Python 3 course by CodeCademy.

Since classes and object-oriented programming proved to be challenging concepts for me, I used the walk-through video to follow along with an experienced programmer. Even after completing the project, I don’t feel like I have an adequate understanding of classes. I plan to find other resources online to help me gain that understanding, because I know that classes are an important Python concept particularly for PyQGIS.

class Business:
  def __init__(self, name, franchises):
    self.name = name
    self.franchises = franchises

class Franchise:
  def __init__(self, address, menus):
    self.address = address
    self.menus = menus

  def __repr__(self):
    return self.address

  def available_menus(self, time):
    available_menus = []
    for menu in self.menus:
      if time >= menu.start_time and time <= menu.end_time:
        available_menus.append(menu)
    return available_menus

class Menu:
  def __init__(self, name, items, start_time, end_time):
    self.name = name
    self.items = items
    self.start_time = start_time
    self.end_time = end_time

  def __repr__(self):
    return self.name + ' menu available from ' + str(self.start_time) + ' to ' + str(self.end_time)

  def calculate_bill(self, purchased_items):
    bill = 0
    for purchased_item in purchased_items:
      if purchased_item in self.items:
        bill += self.items[purchased_item]
      else:
        print(f"Item {purchased_item} not found in menu.")
    return bill

#Brunch menu
brunch_items = {
  'pancakes': 7.50, 'waffles': 9.00, 'burger': 11.00, 'home fries': 4.50, 'coffee': 1.50, 'espresso': 3.00, 'tea': 1.00, 'mimosa': 10.50, 'orange juice': 3.50
}
brunch_menu = Menu('Brunch', brunch_items, 1100, 1600)

#Early Bird Menu
early_bird_items = {
  'salumeria plate': 8.00, 'salad and breadsticks (serves 2, no refills)': 14.00, 'pizza with quattro formaggi': 9.00, 'duck ragu': 17.50, 'mushroom ravioli (vegan)': 13.50, 'coffee': 1.50, 'espresso': 3.00,
}
early_bird_menu = Menu('Early Bird', early_bird_items, 1500, 1800)

#Dinner Menu
dinner_items = {
  'crostini with eggplant caponata': 13.00, 'caesar salad': 16.00, 'pizza with quattro formaggi': 11.00, 'duck ragu': 19.50, 'mushroom ravioli (vegan)': 13.50, 'coffee': 2.00, 'espresso': 3.00,
}
dinner_menu = Menu('Dinner', dinner_items, 1700, 2300)

#Kids Menu
kids_items = {
  'chicken nuggets': 6.50, 'fusilli with wild mushrooms': 12.00, 'apple juice': 3.00
}
kids_menu = Menu('Kids', kids_items, 1100, 2100)

menus = [brunch_menu, early_bird_menu, dinner_menu, kids_menu]

flagship_store = Franchise('1232 West End Road', menus)
new_installment = Franchise('12 East Mulberry Street', menus)

basta = Business("Basta Fazoolin' with my Heart", [flagship_store, new_installment])

#Arepa

arepas_items = {
  'arepa pabellon': 7.00, 'pernil arepa': 8.50, 'guayanes arepa': 8.00, 'jamon arepa': 7.50
}
arepas_menu = Menu("Take a' Arepa", arepas_items, 1000, 2000)

arepas_place = Franchise("189 Fitzgerald Avenue", [arepas_menu])

arepa = Business("Take a' Arepa", [arepas_place])
Python Course: Files

Python Course: Files

In this project, I worked with files using Python. This was part of the learning module on files, which is for the Python course I am taking.

import csv

#Retrieve usernames from a csv file
compromised_users = []
with open('passwords.csv') as password_file:
  password_csv = csv.DictReader(password_file, delimiter=',')
  for row in password_csv:
    password_row = row
    compromised_users.append(password_row['Username'])

#write usernames to a new file
with open('compromised_users.txt', 'w') as compromised_user_file:
  for user in compromised_users:
    compromised_user_file.write(user + "\n")

import json

#create a JSON file to notify the boss
with open('boss_message.json', 'w') as boss_message:
  boss_message_dict = {"recipient": "The Boss", "message": "Mission Success"}
  json.dump(boss_message_dict, boss_message)

#remove the original passwords file and replace with rival hacker's signature.
with open("new_passwords.csv", 'w') as new_passwords_obj:
  slash_null_sig = """ _  _     ___   __  ____             
/ )( \   / __) /  \(_  _)            
) \/ (  ( (_ \(  O ) )(              
\____/   \___/ \__/ (__)             
 _  _   __    ___  __ _  ____  ____  
/ )( \ / _\  / __)(  / )(  __)(    \ 
) __ (/    \( (__  )  (  ) _)  ) D ( 
\_)(_/\_/\_/ \___)(__\_)(____)(____/ 
        ____  __     __   ____  _  _ 
 ___   / ___)(  )   / _\ / ___)/ )( \
(___)  \___ \/ (_/\/    \\___ \) __ (
       (____/\____/\_/\_/(____/\_)(_/
 __ _  _  _  __    __                
(  ( \/ )( \(  )  (  )               
/    /) \/ (/ (_/\/ (_/\             
\_)__)\____/\____/\____/
"""
  new_passwords_obj.write(slash_null_sig)
Python Course: Dictionaries

Python Course: Dictionaries

In this project, I wrote a script to keep track of point totals for people playing a game of scrabble. This project was to practice what I learned about dictionaries in Python.

letters = ["A", "B", "C", "D", "E", "F", "G", "H", "I", "J", "K", "L", "M", "N", "O", "P", "Q", "R", "S", "T", "U", "V", "W", "X", "Y", "Z"]
points = [1, 3, 3, 2, 1, 4, 2, 4, 1, 8, 5, 1, 3, 4, 1, 3, 10, 1, 1, 1, 1, 4, 4, 8, 4, 10]

#combined into a dictionary that maps a letter to its point value.
letter_to_points = {letters:points for letters, points in zip(letters, points)}
letter_to_points[" "] = 0 #for blank tiles

#a function that takes a word, loops through its letters, returns the points for that word.
def score_word(word):
  point_total = 0
  for i in word:
    point_total += letter_to_points.get(i, 0)
  return point_total

#testing the score_word function
brownie_points = score_word("BROWNIE")
#print(brownie_points)

#Each player's words
player_to_words = {"player1": ["BLUE", "TENNIS", "EXIT"], "wordNerd": ["EARTH", "EYES", "MACHINE"], "Lexi Con": ["ERASER", "BELLY", "HUSKY"], "Prof Reader": ["ZAP", "COMA", "PERIOD"]}

#Loops through the words of each player and adds up each player's points
player_to_points = {} #the score
for player, words in player_to_words.items():
  player_points = 0
  for word in words:
    player_points += score_word(word)
  player_to_points[player] = player_points
print(player_to_points)

#a function that would take in a player and a word, and add that word to the list of words they’ve played
def play_word(player, word):
  player_to_words[player].append(word)
Python course: modules

Python course: modules

In this project, I created a Python script which generates a personalized message for a time traveler. The message will read, Today’s date is: 2025-02-02 The current time is: 04:04:19.913236 Pack your bags! You’re traveling to Tokyo in the year 1343. The cost of this trip will be $2387.00.

In this project, I used the decimal, random and datetime modules in Python.

import datetime as dt
from decimal import Decimal
from random import randint
from random import choice
import random

#print the current date and time for reference
current_date = dt.datetime.today().date()  # get the current date
current_time = dt.datetime.now().time()  # Get the current time
print(f"Today's date is: {current_date}")
print(f"The current time is: {current_time}")

#Randomly determine the destination year and calculate the cost
base_cost = Decimal('3.50') #cost per year to time travel
current_year = dt.datetime.now().year #get current year
target_year = random.randint(1, 2024) #select a random year
year_difference = abs(current_year - target_year) #years traversed
final_cost = base_cost * year_difference
final_cost_round = round(final_cost, 2) #rounded to 2 decimal places

#Randomly determine a destination
destinations = ["Bellingham", "Tokyo", "Albuquerque", "Vancouver", "Daejeon", "Berea", "Da Nang", "Thai Nguyen"]
destination = random.choice(destinations)

#create a message about the time travel experience.
def generate_time_travel_message(year, destination, cost):
  return f"Pack your bags! You're traveling to {destination} in the year {year}. The cost of this trip will be ${cost}."
print(generate_time_travel_message(target_year, destination, final_cost_round))
The way to Hanoi by backroads

The way to Hanoi by backroads

This is the way to Hanoi by backroads (excluding large highways, and prioritizing small roads over big roads)

I am located in Thai Nguyen city, which is about 80 km North of the Hanoi. The way to get to Hanoi is usually by bus, which travels on the motorway (aka freeway). I wanted to know if I can go to Hanoi on a bicycle, taking the back roads. The goal of this project was to find the optimal route to take by bicycle, with the priority being smaller roads.

First, I created a road network which excludes the major highways.

I know that I don’t want to ride my bicycle on the major highways at all, so I don’t need to include them in my road network. I downloaded from OSM only the highways in the smallest 3 classes.

Second, I prioritized smaller roads over bigger roads.

I prefer smaller roads, even if it means going a slightly greater distance. I want the tool to find the route that takes the smallest roads as much as possible.

Unclassified roads → Most preferred

Tertiary roads → Second priority

Secondary roads → Least preferred

To do this, I basically tell it, ‘smaller roads are faster, bigger roads are slower’. Then I tell it, ‘go find the fastest route’, and so it finds the route with more small roads.

In the attribute table of the highway layer, I used the field calculator to create a new field called ‘speed’. I calculated it as follows:

CASE
  WHEN "highway" IN ('unclassified', 'unclassified_link') THEN 30
  WHEN "highway" IN ('tertiary', 'tertiary_link') THEN 20
  WHEN "highway" IN ('secondary', 'secondary_link') THEN 10
END

I then ran the Shortest Path tool in QGIS with the “Fastest Path” option and the new attribute selected for the “Speed Field”. Since the tool prioritizes higher speeds, roads with higher values in the new field are preferred. The resulting output is more Tertiary highway than anything else.

Finally, to view the route on my mobile phone while out cycling, I imported the route to Google my maps. Thanks to my phone’s GPS, I can see my location as a blue dot.

Python Course Project: Strings

Python Course Project: Strings

For this project, I used string methods to extract information from sales data which was stored as one huge string. I extracted customer names, sales amounts, and product colors. I calculated the total sales and counted the number of each product color sold.

#replace the artifact between each piece of data within a transaction with something without a comma
daily_sales_replaced = daily_sales.replace(';,;', ';')

# split up daily_sales into a list of individual transactions
daily_transactions = daily_sales_replaced.split(',')
#print(daily_transactions)

#split each individual transaction into a list of its data points.
daily_transactions_split = []
for elem in daily_transactions:
  daily_transactions_split.append(elem.split(';'))
#print(daily_transactions_split)

#strip off any whitespace from each data item
transactions_clean = []
for elem in daily_transactions_split:
  new_list2 = []
  for point in elem:
    new_list2.append(point.replace("\n", "").strip(" "))
  transactions_clean.append(new_list2)
#print(transactions_clean)

#collect the individual data points for each transaction in these 3 lists.
customers = []
sales = []
thread_sold = []

for elem in transactions_clean:
  customers.append(elem[0])
  sales.append(elem[1])
  thread_sold.append(elem[2])
#print(customers)
#print(sales)
#print(thread_sold)

# how much money was made in a day
total_sales = 0
for value in sales:
  total_sales += float(value.strip('$'))
#print(total_sales)

#determine how many of each color thread we sold today.  Separate any strings for multiple colors separated by an &.
thread_sold_split = []
for item in thread_sold:
  if '&' not in item:
    thread_sold_split.append(item)
  else:
    for color in (item.split('&')):
      thread_sold_split.append(color)
#print(thread_sold_split)

#function which returns the number of entries in the list that match the argument.
def color_count(color):
  return thread_sold_split.count(color)
#print(color_count('white'))

colors = ['red', 'yellow', 'green', 'white', 'black', 'blue', 'purple']

msg = "There were {} {} sold today"
msg2 = "The total value of all sales is {}"

#print statements about the total number of each color sold.
for item in colors:
  print(msg.format((color_count(item)), item))