chugging along, learning sql
Learning SQL and databases has been fun so far. It is opening me up to new concepts, and I feel like I’m gaining a foundational understanding of information science. I find myself thinking about the information in other areas of my life and applying the concepts I have learned. For example, I made a database schema for my online English class.
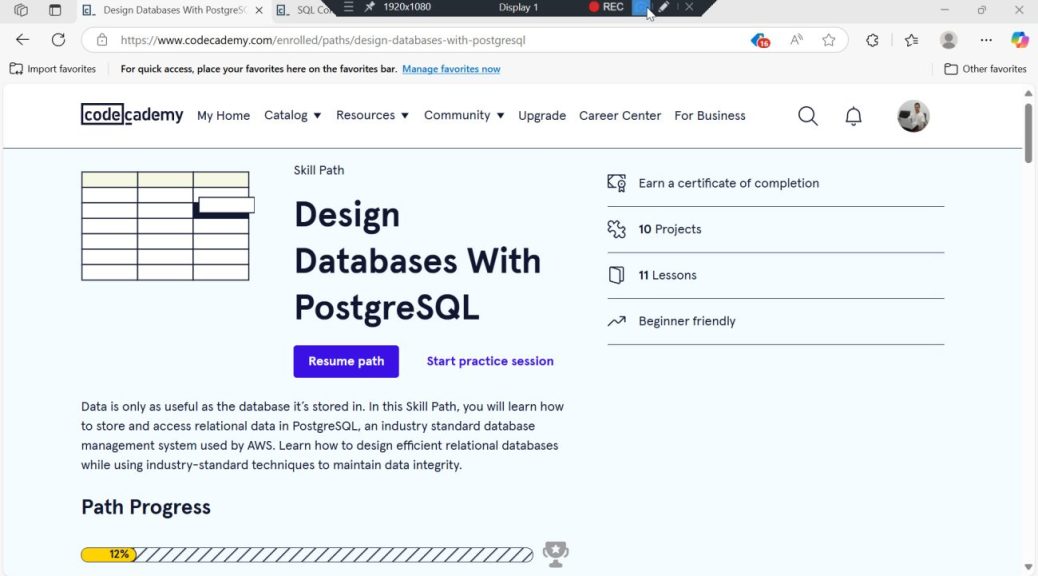
As I go along through the ‘Design Databases with PostgreSQL’ course on CodeCademy, I have little moments of victory when I write a query correctly by myself. This was my most recent case of that:
SELECT book.title AS book_title, author.name AS author_name, book.description AS book_description
FROM book, author, books_authors
WHERE book.isbn = books_authors.book_isbn AND author.email = books_authors.author_email;

SELECT author.name AS author_name, author.email AS author_email, book.title AS book_title
FROM author, book, books_authors
WHERE author.email = books_authors.author_email AND book.isbn = books_authors.book_isbn;
These queries connect two tables together using a junction table. The first query shows for each book the corresponding authors. The second query shows for each author the corresponding books. This exercise is to demonstrate a many-to-many relationship.
Additionally, claude.ai pointed out that the same result can be reached using a different approach. This shows the same query using JOIN:
SELECT book.title AS book_title,
       author.name AS author_name,
       book.description AS book_description
FROM book
JOIN books_authors ON book.isbn = books_authors.book_isbn
JOIN author ON author.email = books_authors.author_email;